
There are a lot of different factors that go into getting the best picture from your projector. The most important thing is to calibrate your projector to ensure that the image is the correct size and proportions. You’ll also want to make sure that the brightness and contrast are set correctly, and that the colors are accurate. Finally, you’ll want to make sure that the image is sharp and clear.
By following these simple steps, you’ll be able to get the best picture from your new projector.
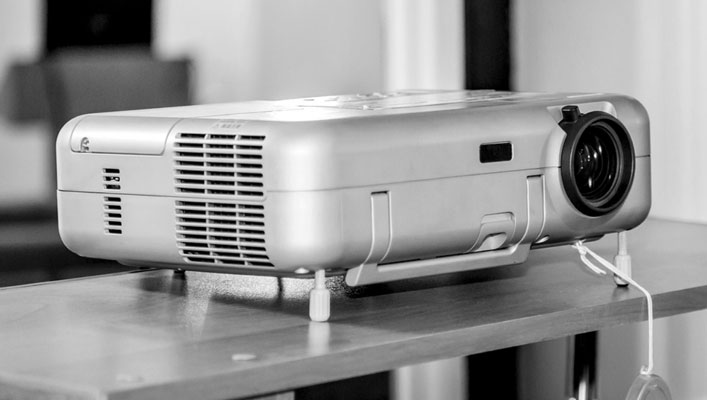
Choosing the best projector
When it comes to choosing a projector, you’ll want to take into account the resolution, brightness, and contrast ratio. The resolution is the number of pixels that make up the image, and you’ll want to choose a projector with at least 1080p resolution. The brightness is measured in lumens, and you’ll want to choose a projector with at least 3000 lumens. The contrast ratio is the difference between the darkest and lightest parts of the image, and you’ll want to choose a projector with a contrast ratio of at least 10000:1.
To choose the best projector for you, you’ll need to consider your needs and budget. If you’re looking for a home theater projector, then you’ll want to choose one with a high resolution and high brightness. If you’re looking for a business projector, then you’ll want to choose one with a high contrast ratio. You can use this comparison guide, for example, to help you with the choice. Guides like these are a great resource to figure out what you need to look for and to give you several options.
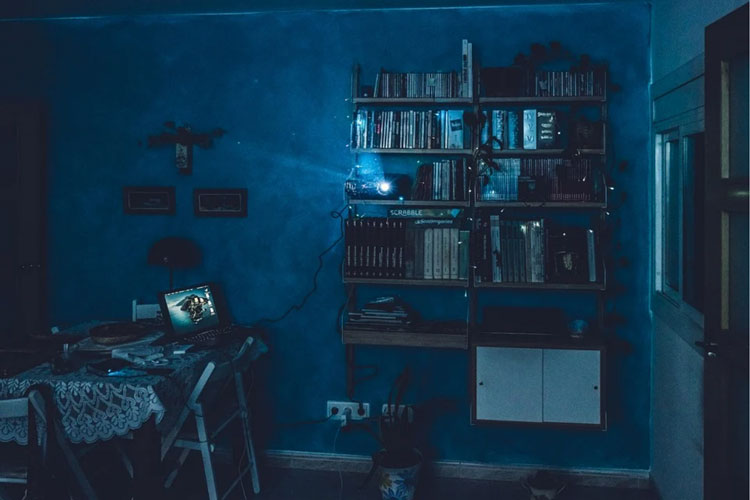
The room ambiance
One of the first things you need to take into account is the room in which the projector will be set up, as this can have a significant impact on picture quality. Ideally, the projector should be positioned in a dark room with no windows and minimal light sources. If this isn’t possible, you can try to adjust the projector’s settings accordingly.
However, the location of the projector is not the only thing that needs to be considered when it comes to the room ambiance. The surfaces of the room can also have an impact on picture quality. For example, if you have a lot of mirrors or bright paintings in the room, they will reflect light and cause glare on the screen. To avoid this, you can try to adjust the projector’s settings or use a less reflective screen.
Calibrating the projector
Once you’ve chosen the best projector for your needs, you’ll need to calibrate it. This involves adjusting the size, position, and shape of the image so that it’s correctly displayed on the screen. You’ll also want to adjust the brightness and contrast to ensure that the image is clear and has the correct colors. Most projectors come with a remote control that you can use to make these adjustments.
There are a few different ways to calibrate your projector. You can use the built-in menus and controls, or you can use third-party software. If you’re not sure how to calibrate your projector, you can consult the manual or look up a tutorial online.
Adjusting the brightness and contrast
Once you’ve calibrated your projector, you’ll want to adjust the brightness and contrast. The easiest way to do this is to use the remote control. You’ll typically find a button labeled “Brightness” or “Contrast.” You can use this button to increase or decrease the brightness or contrast of the image.
You’ll want to adjust the brightness and contrast until the image is clear and has the correct colors. You may have to play around with these settings a bit to get the best results.

Making final adjustments
Once you’ve calibrated and adjusted your projector, you may still need to make some final adjustments. This depends on the type of projector you have and the environment you’re using it in.
If you’re using a home theater projector, you’ll probably want to adjust the position of the projector so that the image is correctly centered on the screen. You may also need to adjust the focus and zoom settings.
If you’re using a business projector, you may need to adjust the keystone correction. This is used to correct the shape of the image so that it’s rectangular.
You can use the remote control to make these final adjustments. Most projectors have a menu that you can use to access these settings.
Possible problems
There are a few possible problems that you may encounter when using your projector.
Blurriness and distortion
If the image is blurry or distorted, you may need to adjust the focus or zoom settings. You can also try moving the projector closer to or further away from the screen. If these adjustments don’t improve the image, you may need to clean the lenses.
If the image is still blurry or distorted after you’ve made these adjustments, there may be something wrong with the projector. You should consult the manual or contact customer support for further assistance.
No image
If there’s no image being projected, make sure that the projector is turned on and that the image is input properly. You can do this by checking the input signal on the projector’s screen. Also, make sure that the projector is in the correct position and that the screen is in focus.
Poor quality image
If the image is of poor quality, you may need to adjust the brightness, contrast, or color settings. You can also try moving the projector to a different location.
If the image is still of poor quality after you’ve made these adjustments, the projector may be defective. In this case, you should contact customer support for further assistance.
Incorrect colors
If the colors are incorrect, you may need to adjust the brightness and contrast. You may also need to calibrate the projector again. On the other hand, the problem could be with the input signal. Make sure that the input signal is set to the correct color mode.
When setting up your new projector, it’s important to take into account the room ambiance and the surfaces of the room. By adjusting the projector’s settings or using a less reflective screen, you can minimize glare and improve picture quality.