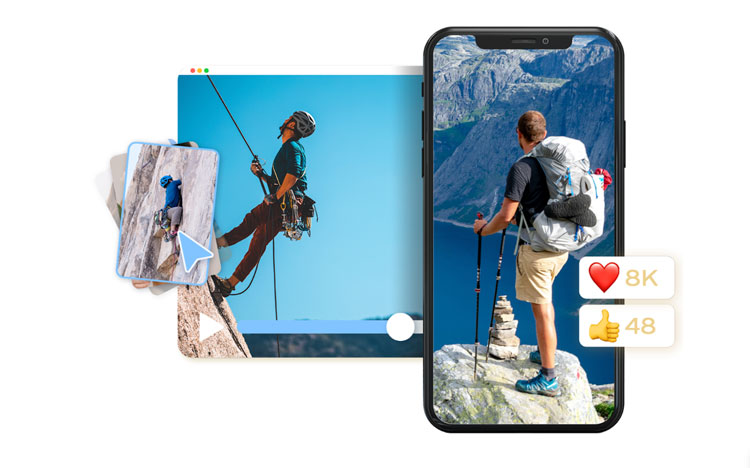
Image Source: CapCut
Preserving the memories of your holiday adventures is a priceless treasure that allows you to revisit the joy and wonder of those special moments. A holiday video is one of the most captivating ways to capture and relive those memories.
In this comprehensive walkthrough, we will guide you through the process of crafting a captivating holiday video with a user-friendly free online video editor. This creative endeavor will result in a cherished memento, allowing you to relive and savor those precious memories whenever you wish. Let’s begin.
Step 1: Plan and capture your footage
Before you embark on your holiday adventure, take some time to plan your video. Think about the places that you will visit, the activities you’ll engage in, and the moments you want to capture. Consider using a good-quality camera or even your smartphone to record the footage.
Step 2: Organize your footage
Once you have returned from your vacation, organizing your footage is essential. Transfer all the videos and photos to your computer or storage device. Create a separate folder for your holiday video project to keep everything in one place.
Step 3: Choose a video editing tool
Next, choose a free online video editor tool that suits your needs. Numerous options are available, ranging from beginner-friendly applications to more advanced ones, but CapCut is the ideal solution.
Step 4: Import and arrange your footage

Open your free online video editing tool, CapCut, and import your footage into the project. Review your footage and select the clips you want to include in your holiday video. Arrange the clips chronologically or based on the story you want to tell.
Step 5: Trim and edit your clips
Now, it’s time to trim and edit your video clips. Remove any unnecessary footage, adjust the length of clips to create a smooth flow, and add transitions between scenes. You can also enhance your video with filters, color correction, and other visual effects.
Step 6: Add music and sound effects
Select a suitable soundtrack that captures the mood and atmosphere of your holiday. Consider using royalty-free music or licensed tracks to avoid copyright issues. Additionally, you can add sound effects, such as waves crashing or birds chirping, to make your video more immersive.
Step 7: Include text and captions
Add text and captions to your video to provide context and enhance the storytelling. Include titles for each location or activity, and consider adding brief descriptions or quotes to emphasize key moments.
Step 8: Incorporate photos and slideshows

To add variety and depth to your holiday video, include photographs in the form of slideshows. Mix them with your video clips to create a visually engaging experience. Experiment with different transitions and animations to make the slideshow visually appealing.
Step 9: Enhance with effects and graphics
Experiment with additional effects and graphics to add a creative touch to your video if desired. This could include overlays, text animations, or even split screens. However, remember to use these elements sparingly, ensuring they enhance rather than distract from your memories.
Step 11: Consider voiceover or narration

Consider recording a voiceover or narration to add a personal touch to your holiday video. You can share your thoughts, anecdotes, or descriptions of the places you visited. This adds a layer of storytelling and helps viewers connect with your experiences more deeply.
Step 12: Include special effects and transitions
If you want to take your video to the next level, experiment with special effects and transitions. These can include slow-motion shots, time-lapse sequences, or creative transitions between scenes. Be cautious not to overuse them, ensuring they enhance the overall viewing experience.
Step 13: Incorporate B-roll footage
Consider incorporating B-roll footage to enhance the visual appeal and provide more context to your holiday video. B-roll refers to supplementary footage that supports the main narrative. It can include scenic shots, close-ups, or behind-the-scenes moments that add depth to your video.
Step 14: Use color grading and filters
Color grading and filters can significantly impact the mood and aesthetics of your holiday video. Experiment with different color palettes or filters to evoke specific emotions or create a consistent visual theme throughout your video. This step can bring a professional touch to your final product.
Step 15: Apply subtitles or translations
If your holiday video includes conversations in different languages or you want to make it more accessible, consider adding subtitles or translations. This allows viewers to follow along, understand dialogues, and appreciate the cultural aspects of your trip.
Step 16: Add intro and outro
Consider creating an engaging intro and outro to give your holiday video a polished and cohesive feel. The intro can set the tone for your video, while the outro can provide a satisfying conclusion. Include your name, the destination, and the date to help viewers remember the context of your memories.

Step 17: Share and preserve your video
Before sharing your video, use CapCut’s video background remover to erase any unwanted objects on the background. Once your holiday video is complete, it’s time to share and preserve it. Consider uploading it to video-sharing platforms like YouTube or Vimeo, or share it with friends and family through a private link or social media. Additionally, make sure to back up your video files to multiple storage devices to prevent loss or damage.
Step 18: Reflect and enjoy
Take some time to reflect on the memories and emotions captured in your holiday video. Share it with loved ones and enjoy returning to those special moments. Your holiday video is a precious keepsake that will continue to bring joy and nostalgia as time passes for many years.
Conclusion
Creating a holiday video is a wonderful way to encapsulate the magic and memories of your vacations. By following these step-by-step instructions listed above, you can create a personalized video that reflects your experiences and allows you to relive those cherished moments whenever you want. Enjoy the whole editing process, get creative, and have fun preserving your holiday memories!


