

In today’s digital age, educators are constantly seeking innovative ways to enhance their teaching methods and engage students more effectively. One powerful approach is integrating multimedia elements into lessons. This not only makes learning more interactive but also caters to different learning styles, ensuring that all students benefit. CapCut Desktop, a versatile video editor for PC, offers a wide range of tools that can help educators create engaging and visually appealing lessons. In this guide, we’ll explore how you can use CapCut Desktop to integrate multimedia into your teaching.
1. The Importance of Multimedia in Education
Multimedia integration in education involves using various forms of media, such as text, images, audio, and video, to create a rich and dynamic learning experience. This approach has several benefits:
- Enhanced Engagement: Multimedia elements can capture students’ attention more effectively than traditional teaching methods.
- Improved Retention: Visual and auditory elements can help students retain information better.
- Catering to Different Learning Styles: Multimedia caters to visual, auditory, and kinesthetic learners, ensuring that all students can grasp the material.
- Interactive Learning: Multimedia can make learning more interactive, encouraging student participation and collaboration.
2. Getting Started with CapCut Desktop
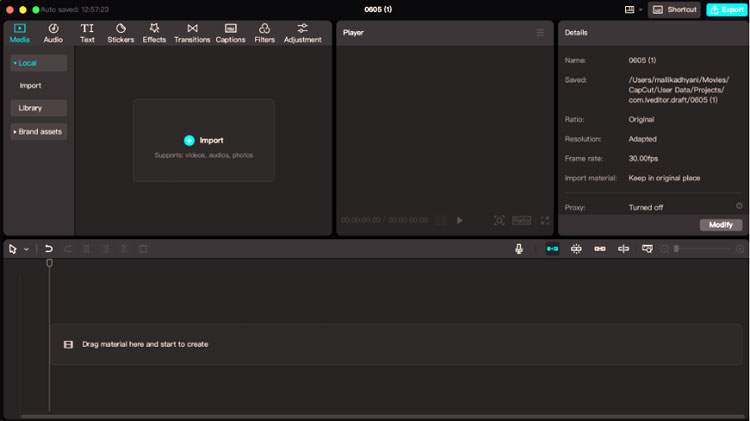
CapCut Desktop is an intuitive and powerful video editor for PC that offers a wide range of features to help you create engaging multimedia lessons. Here’s how to get started:
- Download and Install: Begin by downloading and installing CapCut Desktop from the official website.
- Import Media: Import your video clips, images, and audio files into the media library.
- Create a New Project: Start a new project and drag your media files onto the timeline.
- Explore Editing Tools: Familiarize yourself with the various editing tools, such as trimming, cutting, and merging clips, adding text overlays, and applying transitions.
3. Adding Text and Annotations
Text overlays and annotations are essential for emphasizing key points and providing additional information. CapCut Desktop makes it easy to add and customize text in your videos:

- Insert Text: Select the “Text” option from the toolbar and choose your preferred text style.
- Customize: Customize the font, size, color, and position of the text to match your lesson’s theme.
- Annotations: Use text annotations to highlight important concepts, definitions, or instructions.
4. Incorporating Audio Elements
Audio elements, such as background music, narration, and sound effects, can significantly enhance the auditory experience of your lessons. CapCut Desktop offers a variety of tools to help you incorporate audio effectively:
- Background Music: Add background music to set the tone and pace of your lesson. Choose royalty-free tracks from CapCut’s library or import your own.
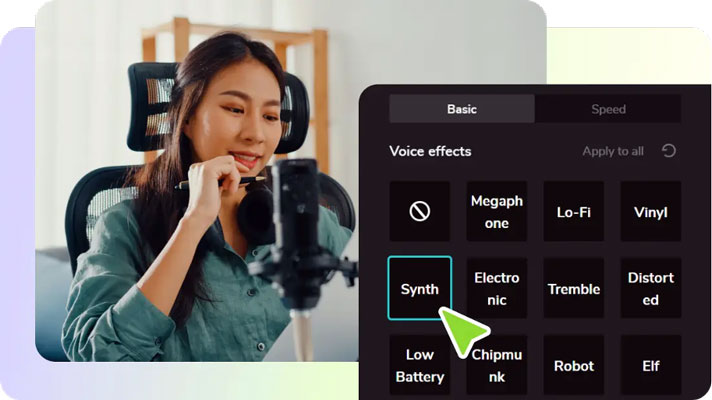
- Narration: Record and add narration to explain concepts and guide students through the lesson. Use CapCut’s free voice changer to modify your voice for different characters or effects.
- Sound Effects: Incorporate sound effects to emphasize key points or create a more immersive learning experience.
5. Utilizing Transitions and Effects
Smooth transitions and visual effects can help maintain a professional flow and keep students engaged. CapCut Desktop offers a variety of transitions and effects to enhance your videos:
- Transitions: Add transitions between clips to create a seamless flow. Choose from a variety of styles, such as fades, wipes, and slides.
- Visual Effects: Use visual effects to highlight important information or add a creative touch to your videos. Experiment with effects like slow motion, fast forward, and zoom.
6. Enhancing Lessons with Video Filters

One of the key features of CapCut Desktop is its extensive library of video filters. These filters can enhance the visual appeal of your videos and create a cohesive aesthetic for your lessons. Here’s how to use video filters effectively:
- Choose the Right Filter: Select a filter that matches the mood and tone of your lesson. For example, use warm filters for a cozy, inviting feel or cool filters for a more professional look.
- Apply and Adjust: Apply the chosen filter to your video clip and adjust the intensity to achieve the desired effect.
- Consistency: Use the same filter across all your video clips to maintain a consistent look throughout your lesson.
Conclusion
Integrating multimedia elements into your lessons can transform the learning experience and make it more engaging and effective for students. CapCut Desktop, with its powerful editing tools and user-friendly interface, is an excellent video editor for PC that can help you achieve this. By using features like video filters, text overlays, audio elements, and transitions, you can create dynamic and visually appealing lessons that cater to different learning styles.
Start exploring the capabilities of CapCut Desktop today and take your teaching to the next level. Whether you’re creating video lectures, tutorials, or interactive lessons, CapCut provides all the tools you need to make your content stand out. Embrace the power of multimedia integration and watch your students thrive in a more engaging and immersive learning environment.